Single Item vs. Multiple Items Snippets
Crust AI offers two distinct snippet types to cover the most common data visualization and sharing needs:| Feature | Single Item Snippet | Multiple Items Snippet |
|---|---|---|
| Purpose | Designed to focus on and display the comprehensive details of one specific record from your chosen table. | Designed to display a list of records from your chosen table. These records can be filtered and sorted according to criteria you define. |
| Use Cases | Sharing a single client’s complete profile Showing the status of a single project Providing detailed information about one product in your inventory Presenting the specifics of one legal case. | Creating a dashboard of all active marketing campaigns Building a client portal showing all pending legal matters for a specific client Listing all products currently in stock. |
| Primary View(s) | This type includes one view: • Detail View, showing all relevant fields for that singular record. | This type includes two interconnected views: • List View: The initial display showing a summarized list or overview of multiple records. • Detail View: When a user clicks on a specific item in the List View, they navigate to a detailed view of that individual record. |
| Preview | 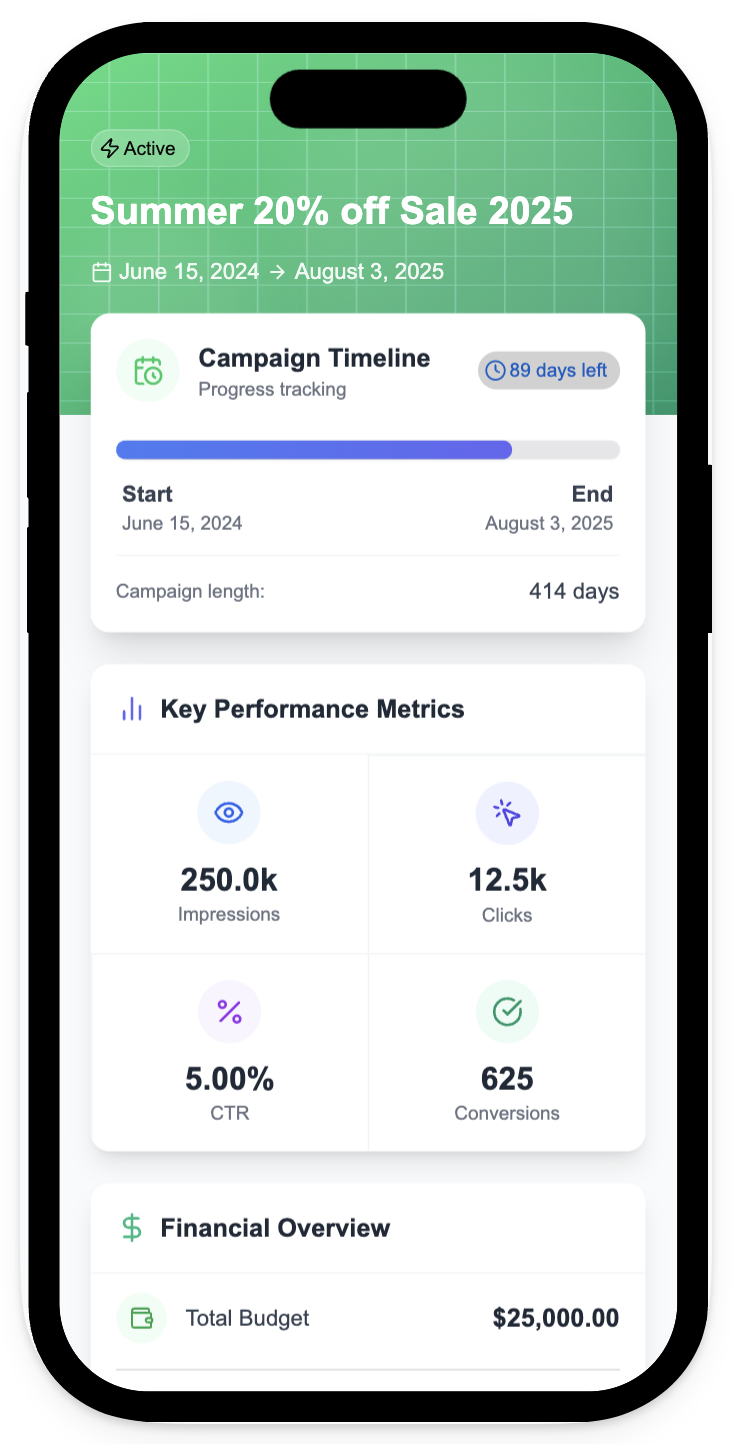 | 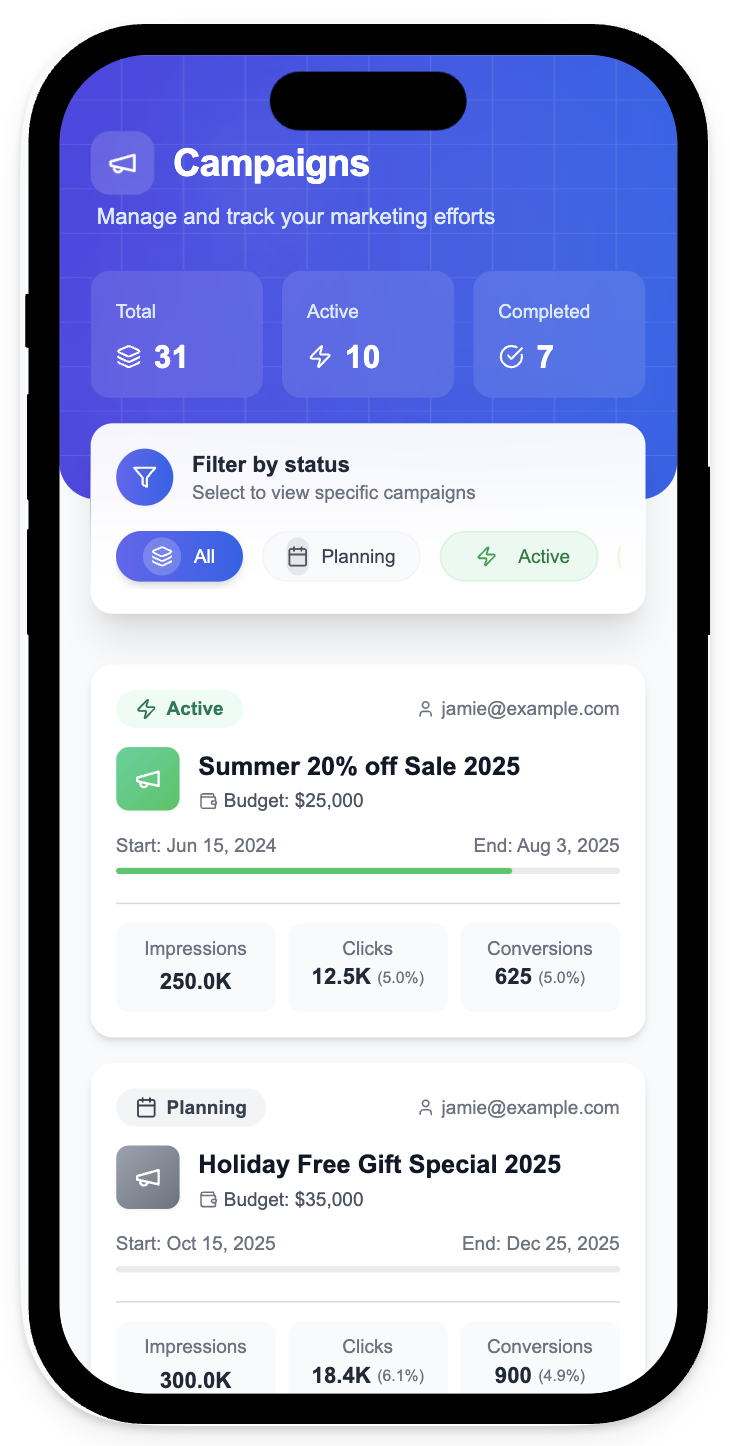 |
Views and Navigation
Every snippet has at least a Detail View. A Single Item snippet only has a Detail View because its purpose is to show the full information for one predetermined record. A Multiple Items snippet has both a List View and a Detail View. The List View is the default view when the snippet is opened. From the List View, users can click on any individual item (record) in the list to automatically navigate to that record’s Detail View.
Navigating Back
Navigating Back
Selecting Data for Each Type
The way you define which specific record(s) are displayed differs based on the snippet type:- For Single Item Snippets
- For Multiple Items Snippets
In Step 2 of the builder, you’ll see a table preview of your data. You select the specific record you want this snippet to display by clicking the radio button next to its row. This selected record defines the core data for this specific Single Item snippet URL.
- Learn more about selecting a specific record: Selecting a Record for Single Item Snippets
- Learn how this affects the URL structure: Understanding the Shareable URL Structure

How Configuration Changes Affect Shared Links
Filters and Sorting Any changes you make to the Filter or Sort settings in Step 2 of the builder will immediately affect ALL existing and future Shareable URLs for that specific snippet. If you update a filter to exclude certain records, those records will instantly disappear from any live view of that snippet’s URL. If you need two different lists of data from the same table (e.g., one showing only`Active` campaigns and another showing only `Completed` campaigns), you should create two separate Multiple Items snippets, each with its own filter configuration.
Permissions (User-based)
Changing the Permission setting (specifically enabling or changing the permission field) in Step 2 does NOT require you to create a new snippet URL to show different data.
The power of user-based permission is that the same base URL (e.g., `https://app.trycrust.ai/<your_snippet_id>/list`) can present different data to different users because the permission value is passed dynamically via the URL parameter (`?p=<permission_value>`).
This allows you to create one snippet configured for user-based permission and use it to share personalized data views with many different clients.
Understanding this distinction is vital for correctly managing your shared data and creating efficient workflows.