> ## Documentation Index
> Fetch the complete documentation index at: https://docs.trycrust.ai/llms.txt
> Use this file to discover all available pages before exploring further.
# How to Add Navigation to Snippets
> Learn how to connect multiple Crust AI snippets together to create seamless navigation flows and app-like experiences.
**Building Navigation Flows**\
One of the most powerful aspects of Crust AI is the ability to connect multiple snippets together, creating intuitive navigation flows. This transforms individual data views into cohesive, app-like experiences without requiring traditional coding skills.
## Understanding Navigation Types
Before diving into implementation, it's helpful to understand the different types of navigation you can create between snippets:
### Types of Navigation
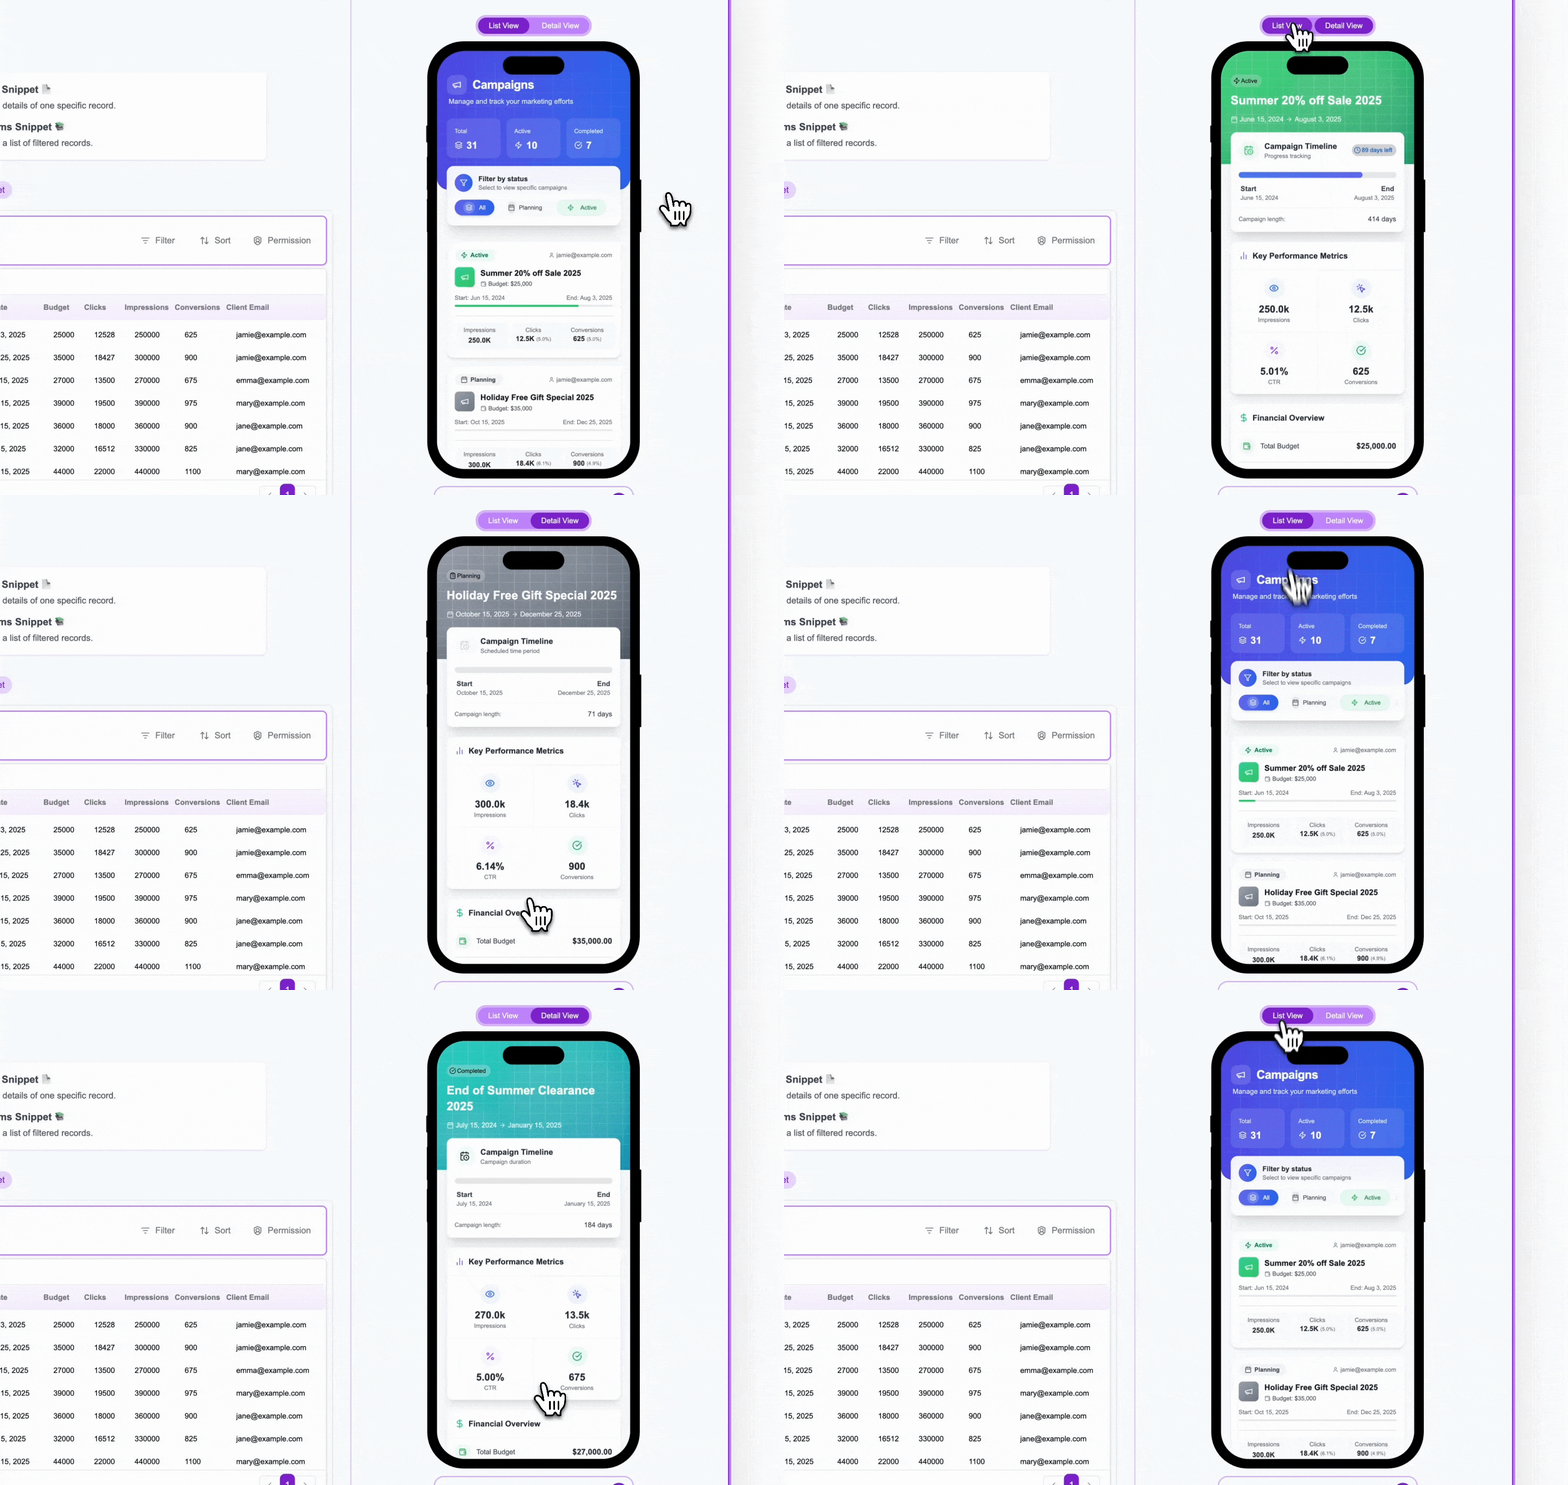
1. **Automatic List-to-Detail Navigation** - Built into Multiple Items snippets.
2. **General Snippet Navigation** - Navigating between snippets without passing specific context or permissions.
3. **Contextual Navigation** - Passing parameters (`rec=` or `p=`) between snippets to maintain context or apply permissions dynamically.
***
## Automatic List-to-Detail Navigation
The most basic form of navigation is already built into every **Multiple Items snippet** by default:
```mermaid theme={null}
graph TD
A[Multiple Items Snippet] --> B[List View]
B -->|User selects an item| C[Detail View]
C -->|User goes back| B
```
**Built-In Functionality**\
In any Multiple Items snippet, when a user clicks on an item in the List View, they're automatically taken to the Detail View for that specific record. This happens without any configuration on your part - it's a core feature of Multiple Items snippets.
The navigation back from Detail View to List View is handled by the browser's default back button in the published snippet.
***
## Creating Navigation Between Snippets
While the automatic List-to-Detail navigation within a single snippet is helpful, the real power comes from connecting different snippets together. Here's how to create navigation buttons between separate snippets:
### Step 1: Create Your Snippets
First, ensure you have created the snippets you want to connect:
1. Create your "origin" snippet (where the navigation begins).
2. Create your "target" snippet (where the user will navigate to).
3. Get the **Shareable URL** of your target snippet (you'll likely modify this later).
### Step 2: Add a Button Field in Airtable (same for Notion/Monday)
To create navigation between snippets, you'll use Airtable's **Button** field type:
1. Go to your Airtable base.
2. Open the table that your **origin** snippet is based on.
3. Add a new field of type **Button**.
4. Name it descriptively (e.g., "View Tasks").
5. Set the action to **Open URL**.
6. In the URL formula, paste the base Shareable URL of your **target** snippet. We'll add dynamic parameters later if needed.
**URL Structure is Key**\
Understanding [Shareable URL Structure](/chapters/sharing-your-snippets/understanding-the-shareable-url-structure) is crucial for effective navigation. The URL parameters (`rec=` or `p=`) determine exactly what data will be shown in the target snippet.
### Step 3: Add the Button to Your Origin Snippet
After adding the button field in Airtable:
1. Return to your **origin** snippet in the Crust AI Builder.
2. **Refresh the page** (or use the schema refresh option) to ensure Crust AI sees the new button field from Airtable.
3. In Step 3 "Make It Perfect", use the AI prompt to add the button to your snippet's UI. For example:
```text Prompt Example theme={null}
Add the 'View Tasks' button that navigates to its URL when clicked
```
***
## Step-by-Step Example: Project to Tasks Navigation
Let's walk through a complete example of setting up navigation between two related snippets, ensuring the target snippet shows contextually relevant data.
### Scenario Setup
Imagine you have two tables in Airtable:
* **Projects** table (with fields: Project Name, Client, Status, etc.)
* **Tasks** table (with fields: Task Name, Project (a *link* to the Projects table), Status, etc.)
Your goal is to create:
1. A **Project Detail** snippet (Single Item) showing detailed information about one project.
2. A **Project Tasks** snippet (Multiple Items) showing *only* tasks related to a specific project.
3. Navigation from the Project Detail snippet to its related Tasks List snippet.
1) **Create Project Detail Snippet:**
* Follow the [Quickstart guide](/chapters/getting-started/quickstart-build-your-first-snippet) to create a **Single Item** snippet based on your **Projects** table. Customize as needed.
2) **Create Project Tasks Snippet:**
* Create a **Multiple Items** snippet based on your **Tasks** table. Customize as needed. *Initially, this will show ALL tasks.*
3) **Get Tasks Snippet URL:**
* In the Tasks snippet builder, go to Step 4 and click "Get Shareable URL".
* Copy the base URL (e.g., `https://app.trycrust.ai//list`). We'll add parameters later.
1. Go to your **Projects** table in Airtable.
2. Add a new **Button** field named "View Tasks".
3. Set the action to **Open URL**.
4. In the URL formula, paste the **Tasks** snippet base URL (copied in the previous step). *We will modify this URL later to pass context.*
```airtable_formula theme={null}
"https://app.trycrust.ai//list"
```
*`(Replace )`*
To ensure the Tasks snippet only shows tasks for the *clicked* project, we need [User-based Permission](https://docs.trycrust.ai/chapters/controlling-data-access/user-based-permission-explained) based on the Project's Record ID.
1. **Expose Project Record ID (Airtable):**
* In your **Projects** table, add a **Formula** field named `Project Record ID` with the formula `RECORD_ID()`.
2. **Lookup Project Record ID (Airtable):**
* In your **Tasks** table, add a **Lookup** field named `Project Record ID Lookup`.
* Configure it to look up from the `Project` linked record field.
* Choose the `Project Record ID` formula field from the Projects table to retrieve.
3. **Set Permission Field (Crust AI):**
* Go back to your **Tasks** snippet in the Builder (refresh if needed).
* Go to **Step 2 -> Permission**.
* Select **User-based permission**.
* In the "Which field holds the user's identifier?" dropdown, select your new **`Project Record ID Lookup`** field.
* Click **Apply Permission**.
Now, modify the "View Tasks" button formula in the **Projects** table to pass the current project's Record ID as the permission parameter (`p`).
1. Edit the "View Tasks" button field configuration.
2. Update the formula to:
```
"https://app.trycrust.ai//list?p=" & RECORD_ID()
```
*`(Replace )`*
Learn more about [Shareable URL Structure](/chapters/sharing-your-snippets/understanding-the-shareable-url-structure) to easily build your shareable snippet URL.
1. Go back to your **Project Detail** snippet in the Builder.
2. **Refresh the page** to ensure Crust AI sees the updated "View Tasks" button field from Airtable.
3. In Step 3 "Make It Perfect", use the AI prompt:
```text Prompt Example theme={null}
Add the 'View Tasks' button in a prominent position below the project details
```
Now when a user views the Project Detail snippet and clicks the "View Tasks" button:
1. They'll navigate to the Tasks snippet URL, which now includes `?p=`.
2. The Tasks snippet will use the provided Project Record ID to dynamically filter and show only tasks related to the original project (matching the `Project Record ID Lookup` field).
3. The user can navigate back using the browser's default back button.
***
## Advanced Navigation Scenarios
When you want to link directly to the Detail View of a specific record (useful for linking *from* a list view to a dedicated Single Item snippet instead of the built-in detail view), you need to include the `rec` parameter with the target record's ID:
```
https://app.trycrust.ai//detail?rec=
```
In Airtable, you can make this dynamic using the `RECORD_ID()` function in your button field formula:
```
"https://app.trycrust.ai//detail?rec=" & RECORD_ID()
```
For Multiple Items snippets with user-based permissions, you can pass any value via the `p` parameter that identifies the relationship or user context:
```text URL Structure theme={null}
https://app.trycrust.ai//list?p=
```
This could be an email, a record ID (as in the example), or any other unique identifier that matches your configured permission field in the target snippet.
***
**Important Considerations**
* **Always refresh** your snippet in the Builder after adding or modifying button fields in your data source.
* **Test your navigation flows** thoroughly before sharing with end-users, ensuring the correct parameters are passed.
* If navigation doesn't filter data as expected, double-check:
* Your URL parameters (`rec=` or `p=`) in the button field formula.
* The permission field configuration in the target snippet (Step 2 -> Permission).
* That the value being passed in the URL parameter *exactly matches* the format and value expected in the permission field (including Lookup field values).
***
By connecting your snippets through thoughtful navigation, you can create sophisticated, app-like experiences that guide users through your data in intuitive ways. This approach lets you build modular, maintainable solutions without writing traditional code.
For more advanced navigation scenarios, learn more about [Shareable URL Structure](/chapters/sharing-your-snippets/understanding-the-shareable-url-structure).
 ```mermaid theme={null}
graph TD
A[Multiple Items Snippet] --> B[List View]
B -->|User selects an item| C[Detail View]
C -->|User goes back| B
```
```mermaid theme={null}
graph TD
A[Multiple Items Snippet] --> B[List View]
B -->|User selects an item| C[Detail View]
C -->|User goes back| B
```